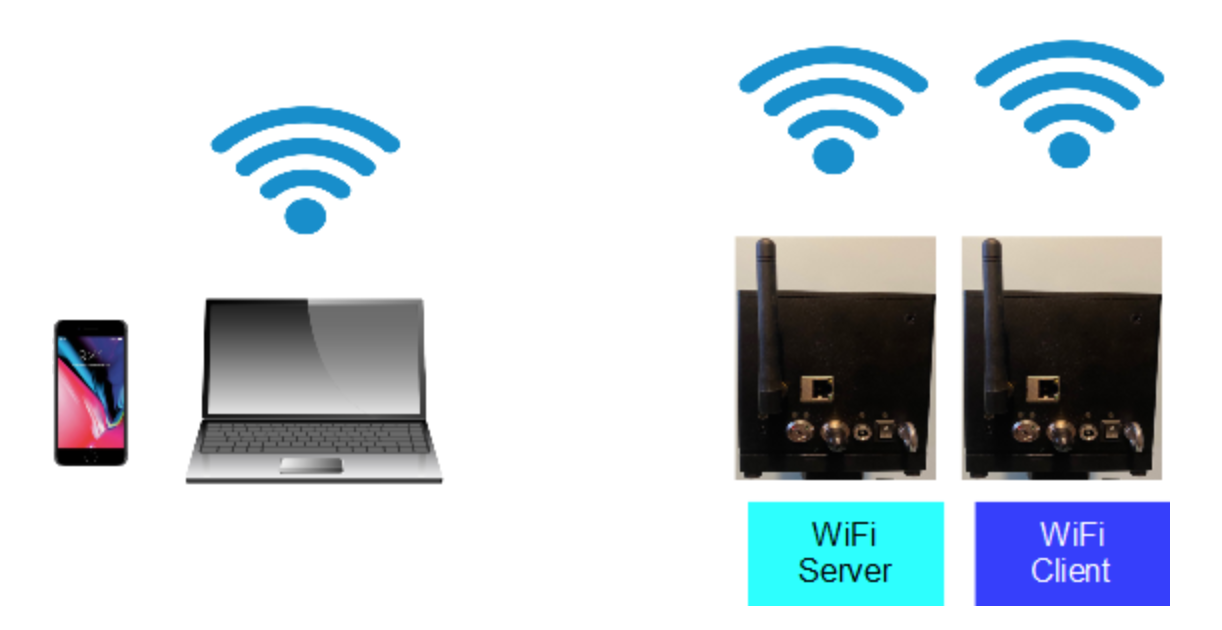
This setup requires two WiFi cubes and a device with sufficient performance (iPhone SE2,11,12, iPad Pro,PC/Laptop) to drive both devices over WiFi.
Note: Android devices appear to have lower WiFi UDP performance than iOS and PC/Laptop, so this setup may not work if you are using an Android phone/tablet and the preferred method is then to use ethernet/WiFi for multi-cube connection (see LAN/Wifi Setup Example 3.
In order for this setup to work, one WiFi cube needs to be setup as WiFi Server (cyan LED), and the other WiFi cube needs to be setup in WiFi client mode (blue LED).
The WiFi cube that will be acting as the WiFi client will first need the client configuration entered via it’s webpage, which can be accessed by firstly setting the cube up in WiFi server mode.
Step by step instructions are detailed below:
1). Turn on Cube 1 and set this to WiFi Server mode (see Mode Button for details on how to change the mode of the cube).
2). Connect to this cube directly using a PC or tablet by accessing WiFi list and selecting “LaserCube”. The password is: Laser2020
3). Once the cyan LED on the back of the cube turns solid, you can now access this cube’s web page by opening a web browser and typing 192.168.1.1 into the address bar.
Details of how to navigate the web page configuration can be found in the LaserCube Web Admin Page of this document.
4). Once on the web page, navigate to the WiFi tab and enter the client config details as shown in the image below and press update.
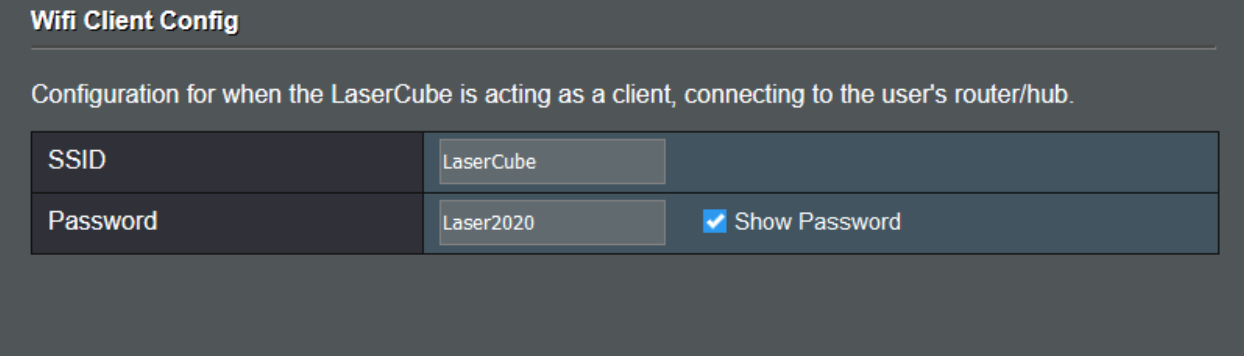
With these settings, this cube will be able to connect to a WiFi server cube once it has been changed back to being a WiFi client device.
5). Navigate to the general tab and change the mode from WiFi server to WiFi client and click update.
6). Now power off this cube and leave it off until the next step has been completed.
7) Turn on cube 2 (not the one that was just configured) and ensure it is set up as a WiFi server (cyan LED). Once the cube is powered and flashing cyan LED, power on the first cube that we just configured. This should now connect to the second cube and the cyan LED should go solid on the server cube, and the blue light should go solid on the client cube.
8). Now connect to the “LaserCube” WiFi network with your IOS device/PC/Laptop and run LaserOS. Both cube’s should now operate all wirelessly.
Note: When using this setup, always power on the WiFi server cube (cyan LED) before powering on the WiFi client cube (blue LED), and only connect to the wireless network with your LaserOS device after the two cubes have connected with each other.